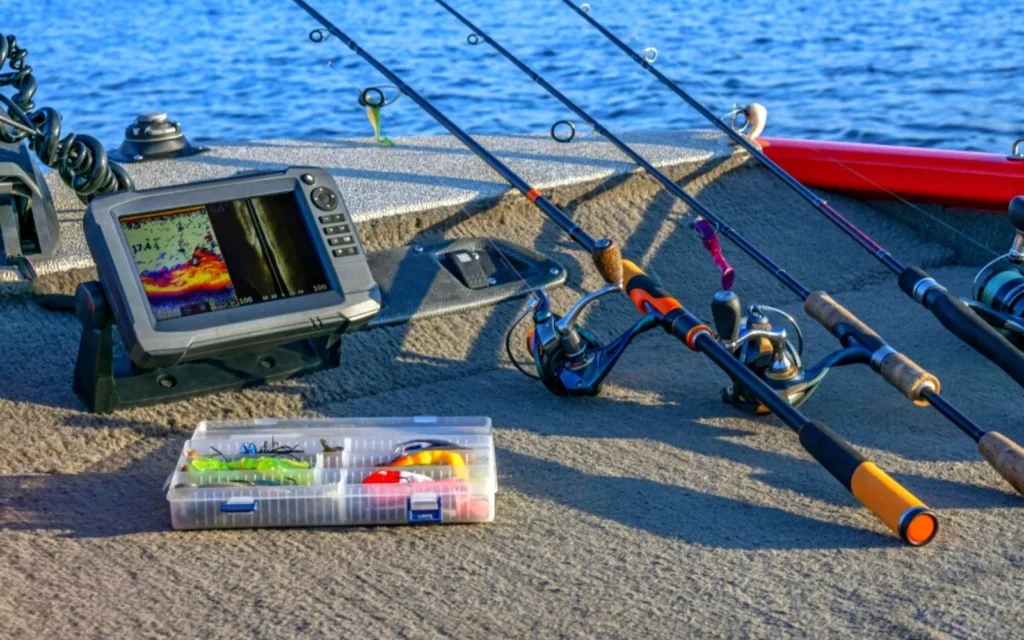
Installing a fish finder can elevate your fishing experience by pinpointing your prey’s hiding spots. Begin by reading the manufacturer’s instructions thoroughly to ensure compatibility with your vessel. These instructions on how to install fish finder will be your roadmap, detailing the specific requirements for your model and how to integrate it with your boat’s systems.
Most fish finders require an inline fuse for safety, which should be included in your installation process. Paying close attention to these details not only ensures a successful setup but also maintains the integrity of your boat’s electrical system and the longevity of your fish finder.
Essential Tools and Materials for Fish Finder Installation
Before starting, gather all the necessary tools and materials. You’ll need a power drill, marine sealant, screws, and the mounting hardware that comes with your fish finder. Depending on your boat and fish finder model, additional tools and materials might be required, so check the manufacturer’s instructions for specifics.
Gathering Your Toolkit
Assemble a toolkit that includes a power drill, screwdrivers, pliers, wire strippers, and a wrench set. These are essential for tasks like drilling holes for the mount and securing connections. Keep these tools organized and within reach to streamline the installation process.
Identifying Necessary Materials and Accessories
Alongside tools, you’ll need various materials such as a clamshell fitting to protect wiring, marine-grade sealant to prevent water ingress, and the appropriate cables and connectors specified by the fish finder manufacturer. Ensure you have everything listed in the instructions before proceeding.
Selecting the Ideal Location for Your Fish Finder
Choosing the right spot for your fish finder is crucial. It should be easily visible while operating your boat and in a location that won’t interfere with marine electronics or fishing activities. Consider ease of access and protection from the elements when selecting the location.
Evaluating Boat Layout
Take a good look at your boat’s layout to determine where to mount the fish finder. Mark the location for the binnacle mount using a pencil, ensuring it’s within easy reach and offers a clear view of the display. Drill pilot holes carefully, avoiding any wiring exposed underneath the mounting surface.
Understanding Transducer Placement
The transducer should be placed deep on the hull for accurate readings, away from turbulence and air bubbles. Use through-hull fittings if necessary, ensuring the face of the transducer is parallel to the smooth hull for optimal performance. Position the transducer bracket against the transom, just below the running surface of the hull.

The Installation Process of a Fish Finder
With your location selected and materials at hand, you’re ready to begin the physical installation of your fish finder.
Step 1: Securing the Mount
Mark the location of the binnacle mount with a pencil, then use a power drill to drill a hole directly on the mark. Place the mount over the holes and secure it with locking nuts. Ensure it’s tightened properly to prevent any movement while the boat is in use.
Step 2: Positioning and Mounting the Transducer
Mount the transducer deep on the hull, using a smooth hull area away from the engine’s wiring harness. This can be more challenging on older boats, but it’s essential for accurate sonar readings. Secure the transducer close to the boat’s console for streamlined cable management.
Optimal Transducer Angles for Accurate Readings
Adjust the transducer angle to be parallel with the waterline when the boat is at rest. This ensures the transducer sends and receives signals directly below the boat, providing the most accurate depth readings and fish locations.
Step 3: Organizing and Running Power Leads
Route the power leads from the fish finder to the boat’s power source. Use ring connectors to attach the leads to the fuse block, and lengthen or shorten wires with tinned-copper wire as needed. Secure male spade terminals to the ends of the wires and connect them to the corresponding female spade connectors on the screw-type terminals. This is particularly common in bass boats where the console is far from the power source.
Step 4: Making the Final Connections
Connect marine electronics carefully, ensuring that all power leads are correctly attached to the mounting bracket. Before you launch the boat, double-check all connections to prevent problems often arising from loose wires. Use a cover to protect the wires and transom mounts from the elements.
Testing Fish Finder Functionality
Once installed, test your fish finder in a controlled environment, like a dock or a slow-moving area of water. Verify that the display reads accurately and that all functions are operational. If issues arise, refer to the troubleshooting section of the manufacturer’s instructions.
Advanced Set-Up Tips for Fish Finder Optimization
To get the most out of your fish finder, arrange your fishing rods and other equipment so that they don’t interfere with the transducer’s signal. Experiment with different settings to find what works best for the water conditions you’re fishing in, and adjust the fish finder’s sensitivity accordingly.
Calibrating Your Fish Finder for Maximum Performance
After installation, calibrating your fish finder is crucial to ensure you get the best out of your device. Start by setting the unit to auto mode, which allows the fish finder to adjust settings based on water conditions. Then, fine-tune the sensitivity to filter out unwanted noise and enhance target separation. Don’t forget to adjust the depth range to match the waters you’re fishing in, and regularly update the fish finder’s software to maintain optimal performance.
Adjusting Settings for Different Water Conditions
Adjusting your fish finder’s settings to suit different water conditions is essential. In murky waters, increase the contrast to distinguish features more clearly. For deep-water fishing, boost the sensitivity to detect fish at greater depths. Conversely, in shallow or clear water, you might need to decrease the sensitivity to avoid clutter on the screen. Always keep an eye on the speed of the boat as well, as this can affect the accuracy of the readings.

Navigating Common Challenges in Fish Finder Installation
One of the common challenges you may encounter during fish finder installation is electrical interference, which can distort the readings. This can be caused by other electronic devices on the boat or improper wiring. To minimize interference, route the fish finder’s power cable away from other electrical wiring and ensure a clean power connection. Also, check for any loose connections that might cause issues with signal clarity.
Troubleshooting Connectivity Issues
If your fish finder isn’t displaying data or is unreliable, first check all connections, ensuring they’re secure and corrosion-free. Verify that the transducer is not obstructed and is correctly positioned in the water. Connectivity issues can often be resolved by resetting the device or updating its software. If problems persist, consult the manufacturer’s manual or reach out to their customer support for assistance.
Maintenance and Care for Long-Term Reliability
To maintain your fish finder’s reliability, clean the screen and casing with a soft cloth to prevent salt buildup. Protect the transducer from physical damage when not in use, and periodically check all mounting hardware to ensure everything is tight and secure. Store the device in a dry place when not in use, and inspect wiring for signs of wear or damage that could affect performance.
FAQ’s
1. How do I choose the right location for my fish finder’s transducer?
Consider the type of boat and water conditions. The transducer should be placed in a location that is submerged in water, free of turbulence, and away from propeller wash for accurate readings.
2. Can I install a fish finder myself?
Yes, with the right tools and some basic knowledge, you can install a fish finder. Follow the manufacturer’s instructions carefully and refer to the step-by-step guide above.
3. What should I do if my fish finder stops working?
Check all electrical connections, ensure the transducer is not damaged or obstructed, and try resetting the device. If issues continue, contact the manufacturer for support.
4. How often should I update my fish finder’s software?
Regularly check for software updates, as manufacturers often release them to improve functionality and fix bugs. Updating once a season or as updates become available is a good practice.
Conclusion
Installing a fish finder can significantly enhance your bass fishing experience, providing valuable insights beneath the water’s surface. With careful planning, proper installation, and regular maintenance, your fish finder will be a reliable tool for many fishing trips. Remember to calibrate and adjust settings according to the water conditions, troubleshoot any connectivity issues, and keep an eye on the health of your device through routine care.
For registered users of specific fish finder brands, additional resources such as forums, direct support, and software updates can be invaluable. By following the guidelines above, you can ensure that your fish finder installation is successful and your time on the water is both productive and enjoyable.
